Man have I been busy and I promise that I have some stuff to show for it. As I mentioned before I had some excited stuff coming up, particularly Studio 5 and Rod Works. Well Studio 5 postponed coming to my house until October and Rod Works was going to do a giveaway but somehow lost communication. So now I have something else in the works dealing with this stuff...
and let me tell ya I am excited! More on that later, for now I have been working on a little re-do in the boys bathroom.
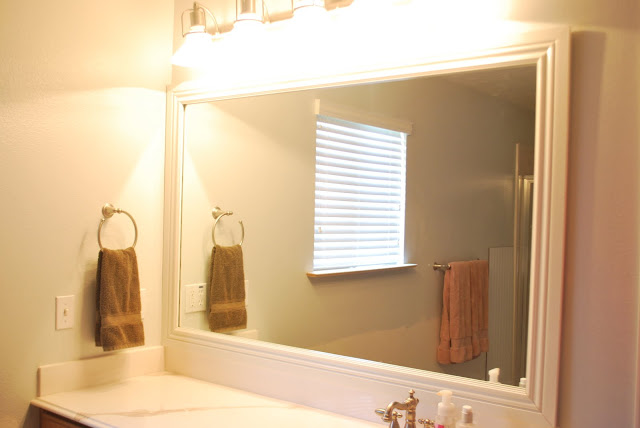
It is still in the works so all I will show you is a little DIY I did....mirror framing! This is such an easy project and I don't know why I was ever intimidated by it! Seriously people you can do this!
Its so easy that it can be done in basically 3 steps.
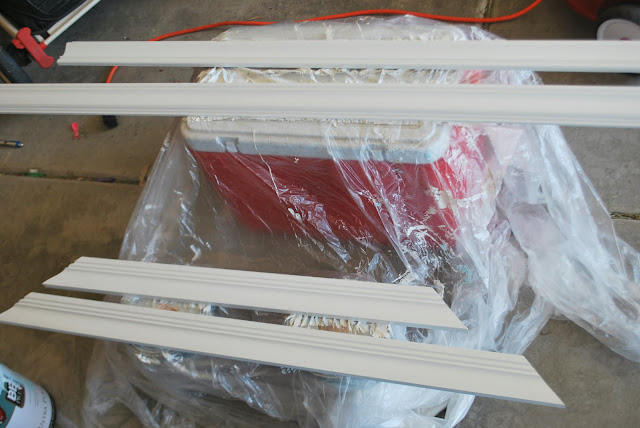
1. Cut your molding at 45* angles.
2. Paint. Pretty basic, just make sure to paint the backside as it will be reflected on the mirror.
3. Glue. Just apply liquid nails to the backside and stick it straight to the mirror. It really can't get any easier!
Not only is it easy, its pretty cheap and quick! The boys mirror is 40" x 30" so all I needed was one piece of molding. I already had the paint and glue so this mirror only cost me $10 and took me about 30 min!
After one successful mirror I went back to the hardware store and bought 40 feet of molding to do the master bath mirrors.
Now all I have to do is sand the edges and touch them up.
But not bad for a cheap and quick project!


6 comments:
OK You talked me into it... I'll try this!! :)
I've always been intimidated by this project too, but it looks so awesome! It's going on our winter to-do list.
Do your mirrors have those little clips on them? Did you just glue over the top of them? I have been wanting to do this for so long but always thought it would be more complicated.
I tried this once and the frames kept coming off. I used liquid nails but may not have been the right kind. Did you use a specific one for mirrors/glass?
Yours look great!
I just used regular liquid nails...nothing special. Maybe you didn't let it set long enough. I had to tape them and hold them down while they dried. The larger the frame the longer it took to dry.
We used Mirrorscapes and installed ours in only 45 minutes. The final product is very good. Check out how we did it in this video...
http://armchairbuilder.com/videos/bath-renovation-mirror-framing/
Post a Comment