Photobucket Photobucket Photobucket Photobucket Photobucket Photobucket

October 26, 2011

More Halloween Decor

I think it is really easy to get carried away with holiday decor. 
In my house I enjoy decorating for the holidays but I try to keep things simple for my own sanity! I find that if I have more than little touches here or there than I get so sick of it before the actual holiday even arrives. So here is a look into the bits and pieces of my Halloween decor. 

The mantle:
Our family room has a beautiful fireplace right in the center of it. Our TV takes up so much space above it that I really have minimal space for decor. This is what I came up with this year...


I showed you here how to make the garland. The pumpkins and "boo" sign came from Hobby Lobby, the candle sticks came from Target, the "trick or treat" blocks I made years ago and I just had the black frame sitting in storage. The "boo" sign was originally black (if you noticed in the above pictures they are different colors) but I spray painted it orange to make it pop more.  I really like how every thing came together. Its just the right amount of Halloween for me :)


The Kitchen Table:
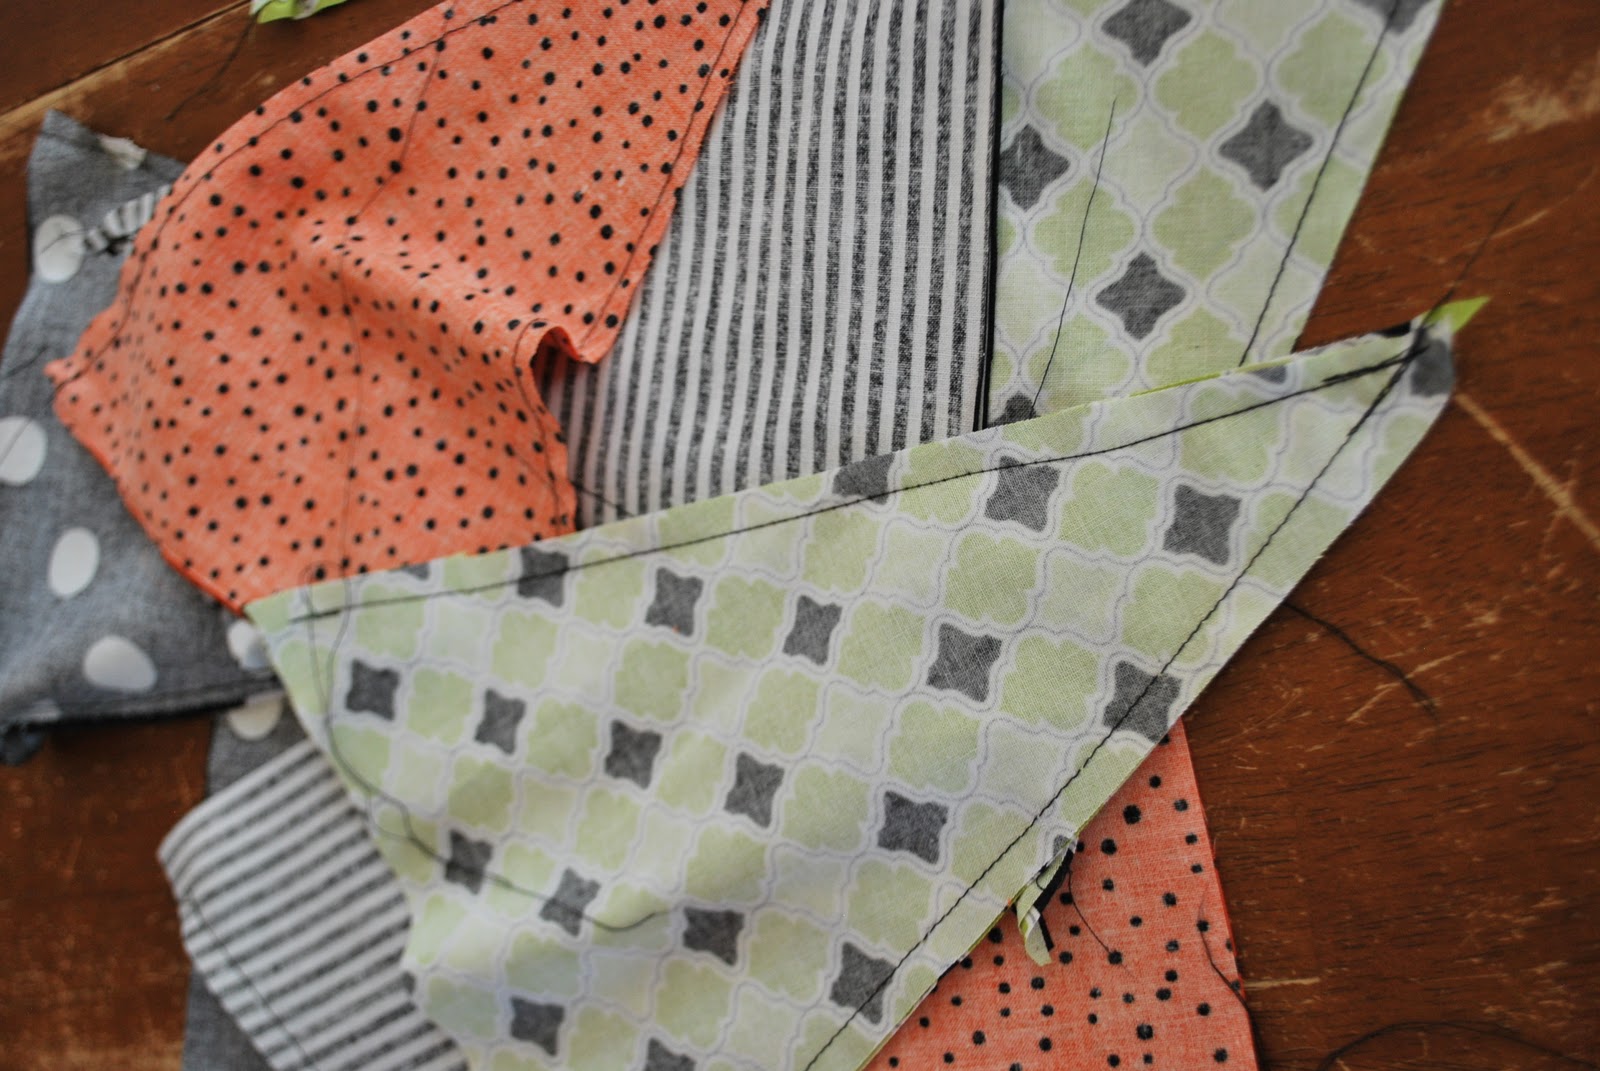
Back when my neighbor and I had a craft day and made the garland, we also made this table runner.


We got the idea from this tutorial but ended up making up our own pattern. We got as much material as listed on the tutorial and then cut down our runner almost in half. In the end we had sooo much left over material that I was able to make another runner and still have stuff remaining!

Again keeping things simple, I put my rod iron pumpkin in the center of the table and covered it with spider webs using a hot glue gun. I found the giant spider at walmart for $3!


I have this little side table between my family room and kitchen area that I like to use for decor.
I put my second runner here and filled my candy plate with some of my favorites...caramel and chocolate covered raisins. YUM!


The candy didn't last long...the plate is now empty :)

I love framing pictures from previous Halloween's. Its so fun for the kids to see their old costumes and it makes for inexpensive decor.


The Front Room:
In my front room I try to keep Halloween decor to a minimum. 


I keep it limited to 3 items:
These gourds I got on clearance from Tai Pan years ago.


I made these pumpkins a while back at a church activity...


and lastly my "eek" candle holder...


As you can see I really don't have a lot of Halloween decor but I still feel that my house is festive and ready for Halloween!

October 19, 2011

The front porch

In my opinion there is nothing more beautiful than fall. I love this time of year! I love the trees, the pumpkins, the cooler weather...you get the idea. But what I love most is the decor, and not just any decor, the front porch decor! Here are some inspiration pictures I got from Pinterest...

Source: bhg.com via Elyse on Pinterest

Source: bing.com via Elyse on Pinterest


I especially love the lanterns...


So far this is my front porch. There is a lot more I want to do, but honestly I'm not so sure I will get around to it! So we will call this an in progress picture...


We haven't made our trip to the pumpkin farm this year so we don't have many pumpkins yet. Hopefully we can go soon!

Here is a close up on my gourd wreath. I love the colors against my black door.


 I know these spiders aren't very "fall" like but they are fun for Halloween.


My bistro set was added a few months ago. Before we had this ugly old bench that came with the house. This is last years pic...


See that ugly bench? Well now we have this beautiful set...


I made these pillows from some fabric that I found at walmart of all places. Its outdoor fabric and was only $6/yd! 


And lastly there's my lanterns. They aren't as great as the above picture but I still like them.


That is all for my front porch. If you have a beautiful fall porch to share I would love to see it!

October 11, 2011

Halloween Pennant Garland

Every year I try to add a few more items to my holiday decor. I think seasonal decor is always a work in progress...at least it seems that way for me :) This year I am still working on putting it all together but so far have made a few crafts. My neighbor and I had a sewing day where we made this adorable pennant garland...


Its super easy and I will show you how. 

What you need is:

1/4 yard fabric in 4 different prints
Black quilting binding


The first thing you want to do is make your pattern. We just cut out a triangle out of printer paper and eyeballed it to a size that looked good.


Be sure to double your fabric so your triangles have a front and back and cut out 2 triangles in each fabric (you should have 4 total pieces in each fabric).

Once all the pieces are cut you are ready to sew.  Turn each triangle inside out so that the two pieces of fabric are facing each other. Sew a straight line down the two angled sides.


I like to back-stitch over the tip to reinforce it a bit. This step helps a lot when it comes time to turn it inside out.


Once all pieces are sewn, they need to be turned inside out and pressed.
Now you are almost done! 
Lay out your pieces in whatever pattern looks best to you.  For my garland I chose to make 3 triangles out of the green print, but you can do it any way you want. 


 Next take your binding and find the center. Pin your middle piece first and then go out from there. We didn't measure each piece, just eye balled each spacing. Once its up you can't even tell they aren't exact!

Now just sew straight across the top and your done!

This is such a quick and easy project that anyone with a sewing machine can do!
Stay tuned for some more Halloween decor!

October 3, 2011

Kids Bath Reveal

I am finally getting around to posting the kids bathroom!
I am so excited to share this bathroom redo, it is my new favorite room. 
I think every room that I just finish is my new favorite:)

Ok here is the before again...


Everything in this bathroom was builder standard. 
The bathroom itself was is great shape, but it definitely needed some pick me up.

And the after...


Aww, much better!
I did this bathroom fairly cheap. The big cost was the beadboard and paint but everything else was pretty inexpensive. I showed you how to frame the mirror here which only cost me $10 for this mirror.


I'm still looking for a new light fixture, I haven't found the perfect one just yet.

I whipped up these prints in photoshop and printed them on cardstock. 
I got the frames from ikea for $1.99 each for a total of $6!


The shower curtain and rug came from target.


I had been trying to figure of what to do with bath toys when I saw this basket on clearance at walmart. 
I think it works perfect!


On the opposite wall I hung this "boats" sign that I got from Tai Pan. It was all the wrong colors, but I loved it so much that I painted over it with diluted white paint and navy blue craft paint. Then I lightly sanded over it to give it a bit of a distressed look.


I made the hooded towels following this tutorial. 
It was SUPER easy and my kids LOVE them!


Probably my favorite project in this room are the towel hooks. 


I got these faucet handles at Ace hardware for $2.50 a piece. They were red but I spray painted them orange. I think they are so fun and add a lot of character to a kids space!


and lastly I had extra orange spray paint and sprayed the kids step stool to match.


And there is my kids bathroom reveal.
Related Posts Plugin for WordPress, Blogger...