Photobucket Photobucket Photobucket Photobucket Photobucket Photobucket

September 28, 2011

And the winners are...

The giveaway is officially closed and the winners have been picked! 
If your name appears below then email me ( lovingyourspace@gmail.com) your address to receive your shaklee sample!!

Using Ramdom.org the winners are:


The Hoffers
Kelly
Laina
Marianne
Mallory

Thanks everyone for participating in my first giveaway!!

September 24, 2011

Studio 5 details

This week I had the opportunity of bringing Studio 5 into my home. 
It all started a few months ago when I heard about a segment they do called Happy Home. Each month they feature a decorating idea that makes your home happy. They go to different homes and film a short segment on something that makes their home "happy". I sent in a picture of my laundry room a while back and got called by Jill Grover to set up a time to film my segment. Originally it was to be done in July, but they got backed up and had to postpone it until October.


This last Monday Jill called me and asked if she could come tomorrow! Of course I obliged, but instantly was freaking out! I got off the phone and immediately started to clean and detail my home.

When they got here we talked about what we were going to film, got me set up with a mic and started to film. It only took about 20 min. and seemed to be over before it even started. They interviewed me on my laundry room and playroom and then that was it.  It was such a fun experience to be a part of and to feel like a celebrity for a day...or a few minutes :)

(Me with Jill Grover just after filming)

It is set to air sometime in early October, but they aren't exactly sure when yet. I will be sure to post the segment on here once it has aired so be sure to look for that!

Also don't forget about my Shaklee giveaway going on! There is only 4 days left.   


September 21, 2011

Shaklee Giveaway

I am proud to announce that I am doing my first ever giveaway!! 
When Erin Branscom contacted me about doing a Shaklee giveaway I was so excited. I have heard a lot about Shaklee and have always wanted to try it out. So when I got this in the mail a few days later I was stoked!

 
Erin was so generous! 
She sent me a package with a bottle of H2 cleaner, 3 spray bottles, and a lifetime membership to Shaklee!
I was so giddy when I opened the box...my Husband probably thought I was nuts :)


I immediately started to try out the products. 
My first area to tackle was my kitchen appliances. I have a 1 year old who constantly is putting his little hand prints all over my stainless steal. 

Exhibit A:

and Exhibit B:


I normally use a gel type product made for cleaning stainless steal, but this stuff worked just as good..and its a whole lot cheaper! As a member you get a 16 oz concentrated bottle for only $10.35 which makes 48 gallons of completely organic all purpose cleaner.


Next I tried it out on my windows. 
These things get nasty everyday from my kids. 
Am I the only one whose kids lick the windows??!?


Gross! 
For the windows all I did was spray some window cleaner and wiped it with a microfiber cloth. 
I am AMAZED with the results!


No streaks and crystal clear glass. 
Not only do I love how it cleans, I love that its completely safe for my kids.

After these results I went crazy and tried it on everything imaginable. I took it outside to clean my hard water spots on my bistro table.


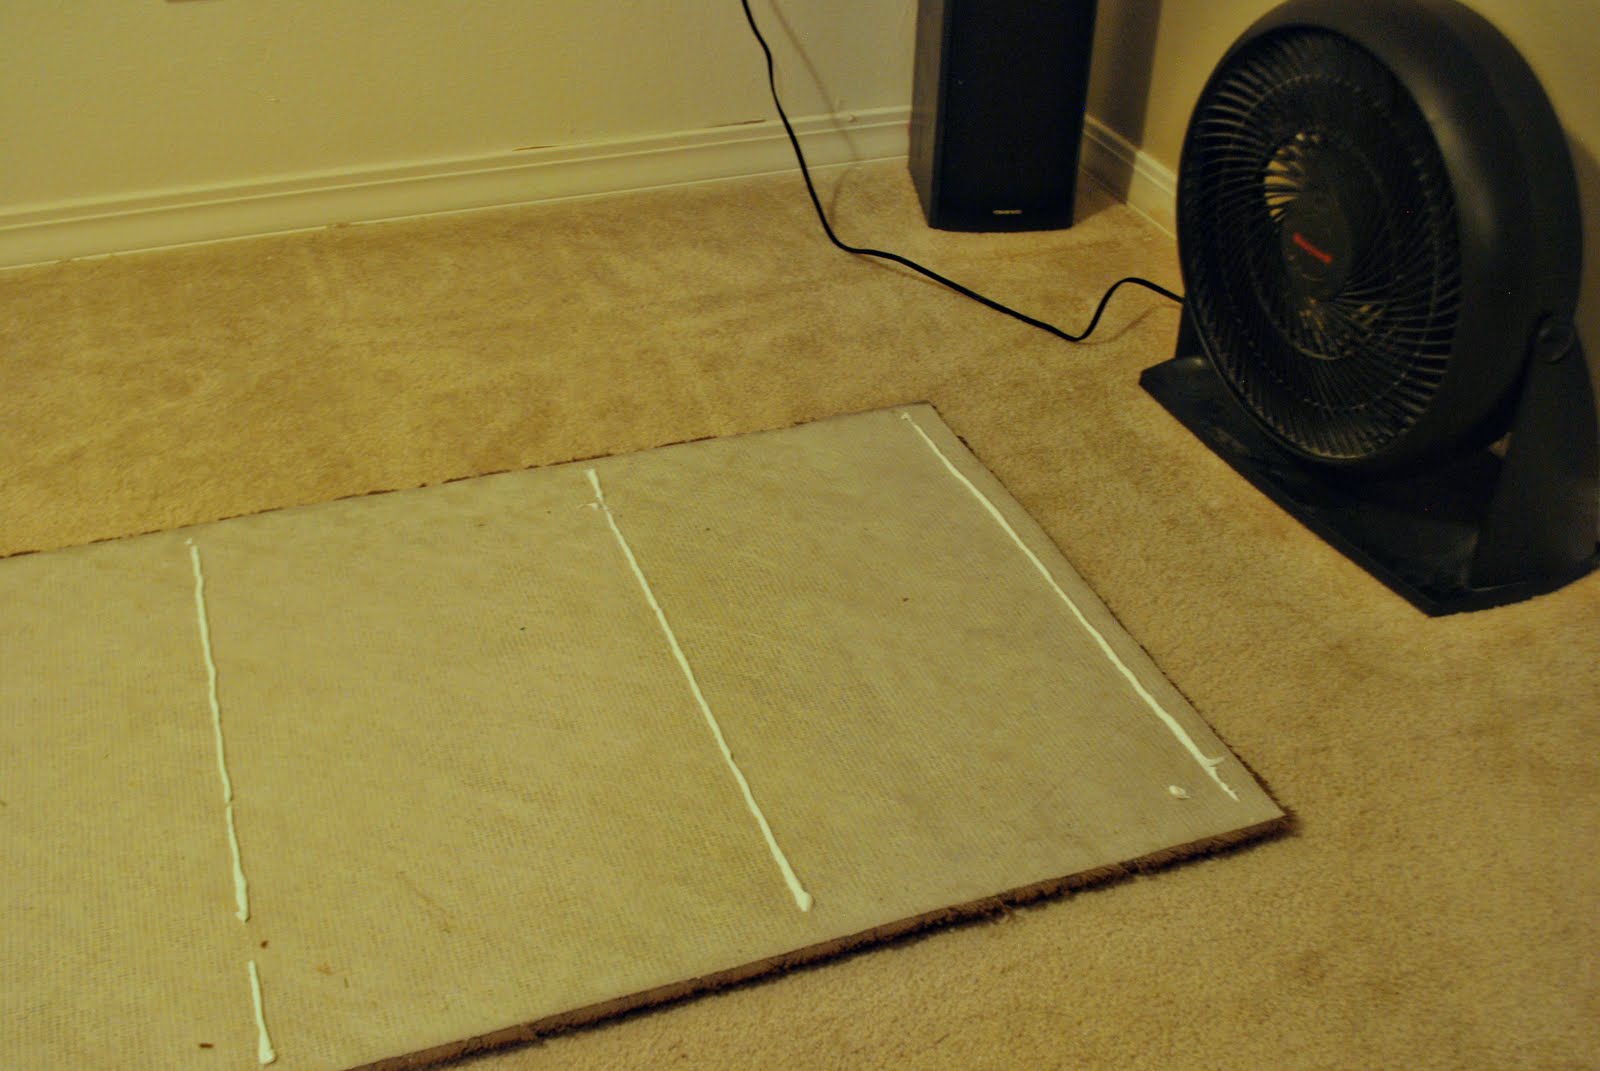
I tried it in my car, in my stove, on my carpet, on my veggies, on my walls and I even cleaned my wedding ring with it....all with great results!
So now is your chance to try it out.  
My friend Erin is giving 5 of my readers a sample of H2 to try out! 
Here is what you get:


Don't be fooled by its size! This little package makes 2 16 oz bottles of cleaner, one all-purpose and one window!! All it takes is 2 drops mixed with 16 oz of water to make window cleaner and 1/4 tsp. mixed with 16 oz of water for all purpose cleaner. I know its pretty amazing! 

How to win...
All you have to do is first follow my blog, then visit Erin's Shaklee site and tell me what product you want to know more about or are interested in. 

Extra entries:
1. Like my twitter or facebook page.
2. Follow Erin's blog

Leave a comment for each entry

That's a total of 4 possible chances to win per person!! 
This giveaway will close on Tuesday September 27th at midnight and the winners will be announced on Wednesday the 28th! 

Good Luck!!

September 13, 2011

DIY Mirror Framing

Man have I been busy and I promise that I have some stuff to show for it. As I mentioned before I had some excited stuff coming up, particularly Studio 5 and Rod Works. Well Studio 5 postponed coming to my house until October and Rod Works was going to do a giveaway but somehow lost communication. So now I have something else in the works dealing with this stuff...

and let me tell ya I am excited! More on that later, for now I have been working on a little re-do in the boys bathroom. 


It is still in the works so all I will show you is a little DIY I did....mirror framing! This is such an easy project and I don't know why I was ever intimidated by it! Seriously people you can do this!


Its so easy that it can be done in basically 3 steps.

1. Cut your molding at 45* angles.


 2. Paint. Pretty basic, just make sure to paint the backside as it will be reflected on the mirror.

 
3. Glue. Just apply liquid nails to the backside and stick it straight to the mirror. It really can't get any easier!


Not only is it easy, its pretty cheap and quick! The boys mirror is 40" x 30" so all I needed was one piece of molding. I already had the paint and glue so this mirror only cost me $10 and took me about 30 min!

After one successful mirror I went back to the hardware store and bought 40 feet of molding to do the master bath mirrors.


Now all I have to do is sand the edges and touch them up. 
But not bad for a cheap and quick project!

September 3, 2011

Slip proofing your rugs

Happy Saturday Everyone!
Today I have a quick little trick that I want to share with you. 
I saw this on Martha Stewart and knew I had to try it.


Through out my main floor I have these runners.


As you can see from the picture they are all sorts of crooked! 
Between kids and my dog I cannot keep these things straight. 
They even have a soft felt bottom that is supposed to keep them from moving, but obviously it doesn't work.


So I tried Martha's trick and it worked!

All you have to do to keep these rugs in place is apply strips of acrylic latex caulk on the back of your rugs.


Martha says to do it every 6 inches, but I thought that was a bit much considering how long my rugs are, so I did it about every foot.
 They don't have to be perfect, I just eyeballed it. 


Once that is done you need to let it dry. 
Do not flip them over until they are fully dry!
I put my in my basement with a fan on it to dry them faster.


Once they are dry you can flip them over and enjoy your slip proof rugs!
My rugs are so secure now and won't budge at all!


Best idea ever!
Related Posts Plugin for WordPress, Blogger...