Photobucket Photobucket Photobucket Photobucket Photobucket Photobucket
Showing posts with label Bathroom. Show all posts

April 15, 2012

Master Bath Potty Room

Wow has it really been a month since I last posted on this blog??? I have taken a break from anything home decor but I have now gotten the motivation back that I needed to get some projects done! Today I want to share a small makeover I did in my master bathroom. Our bathroom has a separate room for the toilet and it needed some major TLC. Since we moved in I hated this room because it was so boring and the walls needed some touch up, so I always would keep the door closed.
 Here are the before pics...


Notice the powder on the floor?  Before we moved in we hired a dry waller to come in and patch up holes in the walls throughout the entire house. This bathroom was no exception to that. I wish you could see just how bad the walls were. I had to sand down part of the wall and paint with a primer before I could do anything else in the room. 

Here is the after...


I started by painting the room the same color as the rest of the bathroom. Post found here, and no we have not progressed on the rest of our master bath plans :(


I took things from around the house to decorate this small space. This room is so small and only big enough for the toilet, so I didn't want to put a lot on the walls in fear it would crowd the space. I put only a few simple touches above the toilet to give it the feel I was looking for. This basket I had on hand and love to fill it with toilet paper. Not only does it look good, it serves a purpose to!


The shelf I had in storage for a long time without a place to put it. I think its perfect for this space.


 The framed art I made and is up for sale in my Etsy shop


The only thing I bought for this space was the little lighthouse which I found at Pier 1.


I love that I have a place to display our shells from our last Cali trip a few weeks ago...


and one more look at the whole thing...


And that does it for this mini redo! 
Hopefully I can get my rear in gear and finish up the rest of our bathroom :)

November 4, 2011

Kids Bath Feature!

Hello everyone, today I just wanted to let everyone know that I am being featured over at Remodelaholic. They are featuring my  kids bathroom redo...click their button below to check it out :)


October 3, 2011

Kids Bath Reveal

I am finally getting around to posting the kids bathroom!
I am so excited to share this bathroom redo, it is my new favorite room. 
I think every room that I just finish is my new favorite:)

Ok here is the before again...


Everything in this bathroom was builder standard. 
The bathroom itself was is great shape, but it definitely needed some pick me up.

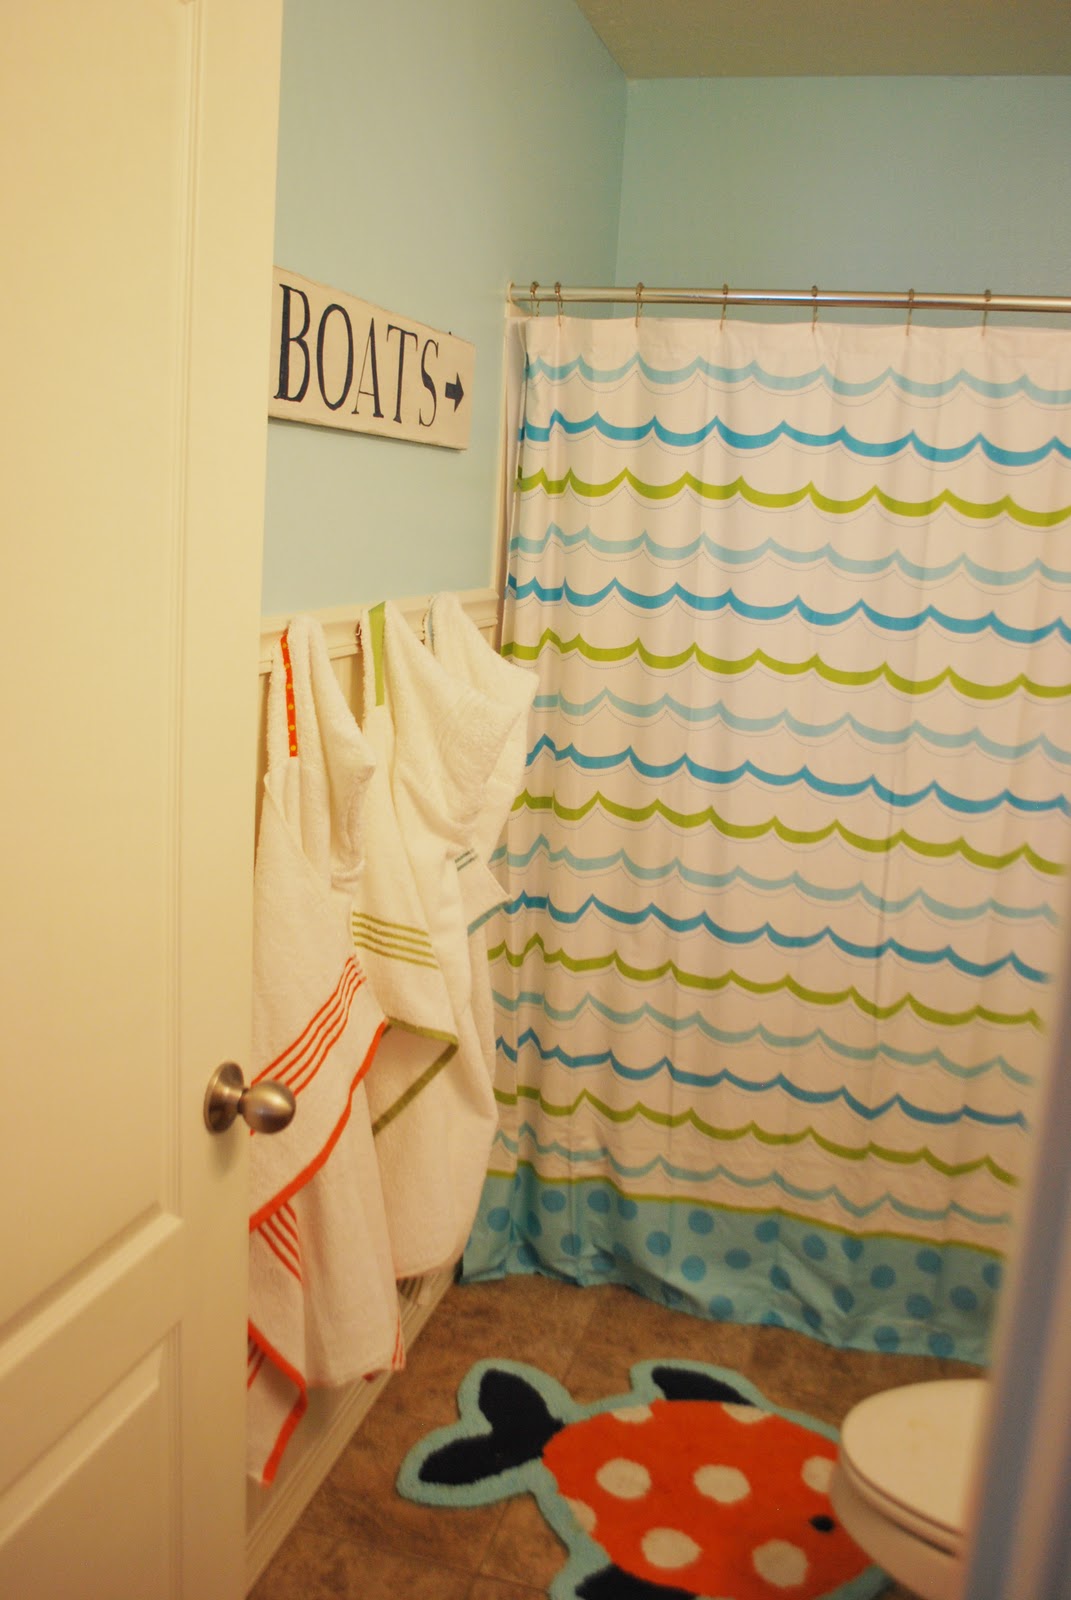
And the after...


Aww, much better!
I did this bathroom fairly cheap. The big cost was the beadboard and paint but everything else was pretty inexpensive. I showed you how to frame the mirror here which only cost me $10 for this mirror.


I'm still looking for a new light fixture, I haven't found the perfect one just yet.

I whipped up these prints in photoshop and printed them on cardstock. 
I got the frames from ikea for $1.99 each for a total of $6!


The shower curtain and rug came from target.


I had been trying to figure of what to do with bath toys when I saw this basket on clearance at walmart. 
I think it works perfect!


On the opposite wall I hung this "boats" sign that I got from Tai Pan. It was all the wrong colors, but I loved it so much that I painted over it with diluted white paint and navy blue craft paint. Then I lightly sanded over it to give it a bit of a distressed look.


I made the hooded towels following this tutorial. 
It was SUPER easy and my kids LOVE them!


Probably my favorite project in this room are the towel hooks. 


I got these faucet handles at Ace hardware for $2.50 a piece. They were red but I spray painted them orange. I think they are so fun and add a lot of character to a kids space!


and lastly I had extra orange spray paint and sprayed the kids step stool to match.


And there is my kids bathroom reveal.

September 13, 2011

DIY Mirror Framing

Man have I been busy and I promise that I have some stuff to show for it. As I mentioned before I had some excited stuff coming up, particularly Studio 5 and Rod Works. Well Studio 5 postponed coming to my house until October and Rod Works was going to do a giveaway but somehow lost communication. So now I have something else in the works dealing with this stuff...

and let me tell ya I am excited! More on that later, for now I have been working on a little re-do in the boys bathroom. 


It is still in the works so all I will show you is a little DIY I did....mirror framing! This is such an easy project and I don't know why I was ever intimidated by it! Seriously people you can do this!


Its so easy that it can be done in basically 3 steps.

1. Cut your molding at 45* angles.


 2. Paint. Pretty basic, just make sure to paint the backside as it will be reflected on the mirror.

 
3. Glue. Just apply liquid nails to the backside and stick it straight to the mirror. It really can't get any easier!


Not only is it easy, its pretty cheap and quick! The boys mirror is 40" x 30" so all I needed was one piece of molding. I already had the paint and glue so this mirror only cost me $10 and took me about 30 min!

After one successful mirror I went back to the hardware store and bought 40 feet of molding to do the master bath mirrors.


Now all I have to do is sand the edges and touch them up. 
But not bad for a cheap and quick project!

August 2, 2011

Master Bath Progress

Well I just got back in town from a nice trip to California for my Brother-in-Law's wedding. We had a wonderful time, but I must say that I am happy to be back in Utah and to sleep in my own bed again! I have a lot of catching up to do, so today I will share our master bath progress.

As you may remember from this post, I had some big plans for our bathroom. I wanted to paint, replace the marble with tile, frame the mirrors and do some sort of molding around the tub. 

My first step was painting the walls a light blue called Pensieve Sky by Behr.


Originally I was going to paint everything this color and just do molding around the tub, but I decided to continue the molding on the two walls next to the tub.


Eric had to give me a hard time for this color because in the right light it almost looks white. 
That's men for ya, they aren't into the details :)

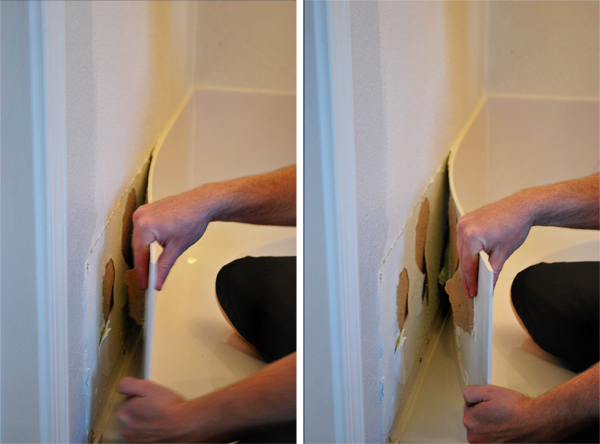
After I gave the room a coat of paint, I put Eric in charge of removing the marble surround. He just took a flat head screwdriver and a hammer to it and then pulled it right off the wall. He made sure to place a rag between the marble and hammer so that it didn't ruin the wall or marble.


Our tub is kind of scary now, but it means we are one step closer to the finished product.


Trey had to get in on the fun and help out!


So there is our little bit of progress. 

Before:

 After:


Next step is to install this tile around the tub. 


We have never tiled before so this might be fun. 
Wish us luck!

June 14, 2011

Master bath plans

Sorry I have dropped the ball on this blog, but I have some pretty exciting and BIG things coming up. Things that I am in shock about really, that have to do with Rod Works and Studio 5!!! Sorry but those things will have to wait:( 

For now I want to share my plans for our master bath as we are getting ready to change up this room a bit. 

Our bathroom is kind of a hard space for me. Its big and has everything that I want in a bathroom, but it really has a lot of wasted space. One day I would love to redo the whole thing, like expand the shower and add a window...but for now I will settle on a few smaller scale changes. Here is our bathroom before we moved in.


So far I am thinking that I want to frame in the mirrors like this:


(photo courtesy of The Idea Room)

I also want to paint the room a similar color to the picture above. I definitely want to add some beadboard around the tub and add a veneer front to hide the hideous jetted tub motor. 


Maybe something along these lines:


Also I want to rip out the ugly marble surround on the tub and replace it with some tile.

And lastly I always wanted a chandelier above my tub like these photos:

( photo from Nate Berkus)

(Things that inspire)

This one is bit big but you get the idea. 
I love the color and sparkle of this bathroom and it serves as my inspiration for my bathroom. 

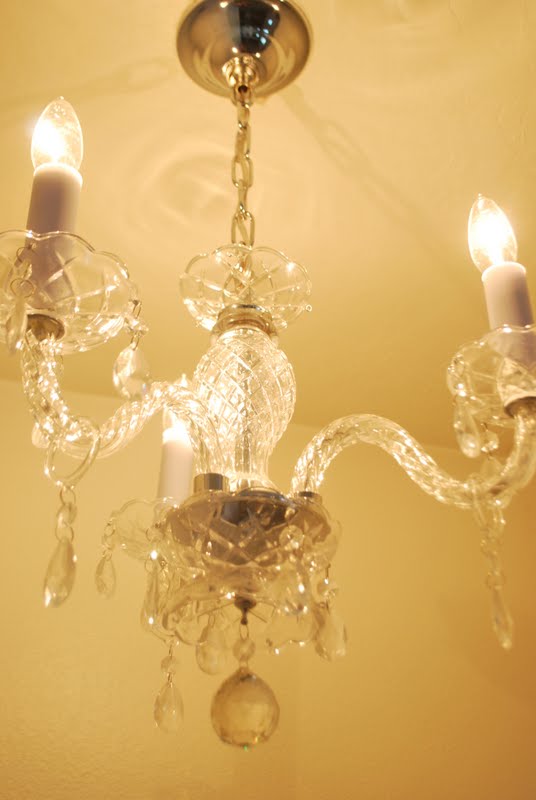
I was able to get started on my bathroom revamp last week when my Dad came in town and brought me a beautiful chandelier.
He installed it for me and I love it. 
We didn't have a light source above our tub at all so this was a nice surprise!


A little bit of light makes a big difference in a small space. 
Well there is our very small start to our bathroom revamp. 
Hopefully in the next couple of weeks we can get this room done...crossing my fingers!

Related Posts Plugin for WordPress, Blogger...